I saw this idea in a church in Berlin. They're using it to raise money to refurbish an ancient wall painting, but it could easily be done in any context at your next school fete, either to raise money or just as a fun collaboration. These photos show you the idea:


Open the door
Use this link to take you to an audio of Miroslav Horub's poem Go and open the door. Use it as a stimulus for art where children first create, in whatever medium you choose, the view through their door - real or imaginary. When the view is finished, they make a door which they hinge over it, maybe with a paper fastener to act as the handle. When the doors are opened - you see the view!
Georgia O'Keeffe


I love using Georgia O'Keeffe's fabulous flower paintings as a stimulus for art. These are some of the pieces Y4 children produced (they're pretty big in real life!) after looking at some of her work - easy to find with a Google image search. Three key things - (1) work BIG; (2) take the flowers right over the edge of the paper; (3) encourage colour mixing on the paper as suggested below. You can use real or artificial flowers as a support if you want, but it's not absolutely necessary.
Colour mixing
To encourage children to experiment with colour mixing, help them to realise they can mix on the paper whilst they are painting. It's not necessary always to mix a palette full of a colour and then put it on to the paper. By mixing and creating colours as they paint, subtleties of tone and hue can be achieved more easily. As a practice exercise, get them to paint a sky or a sunset, adding colours as they go along and finding out what effects they can create.
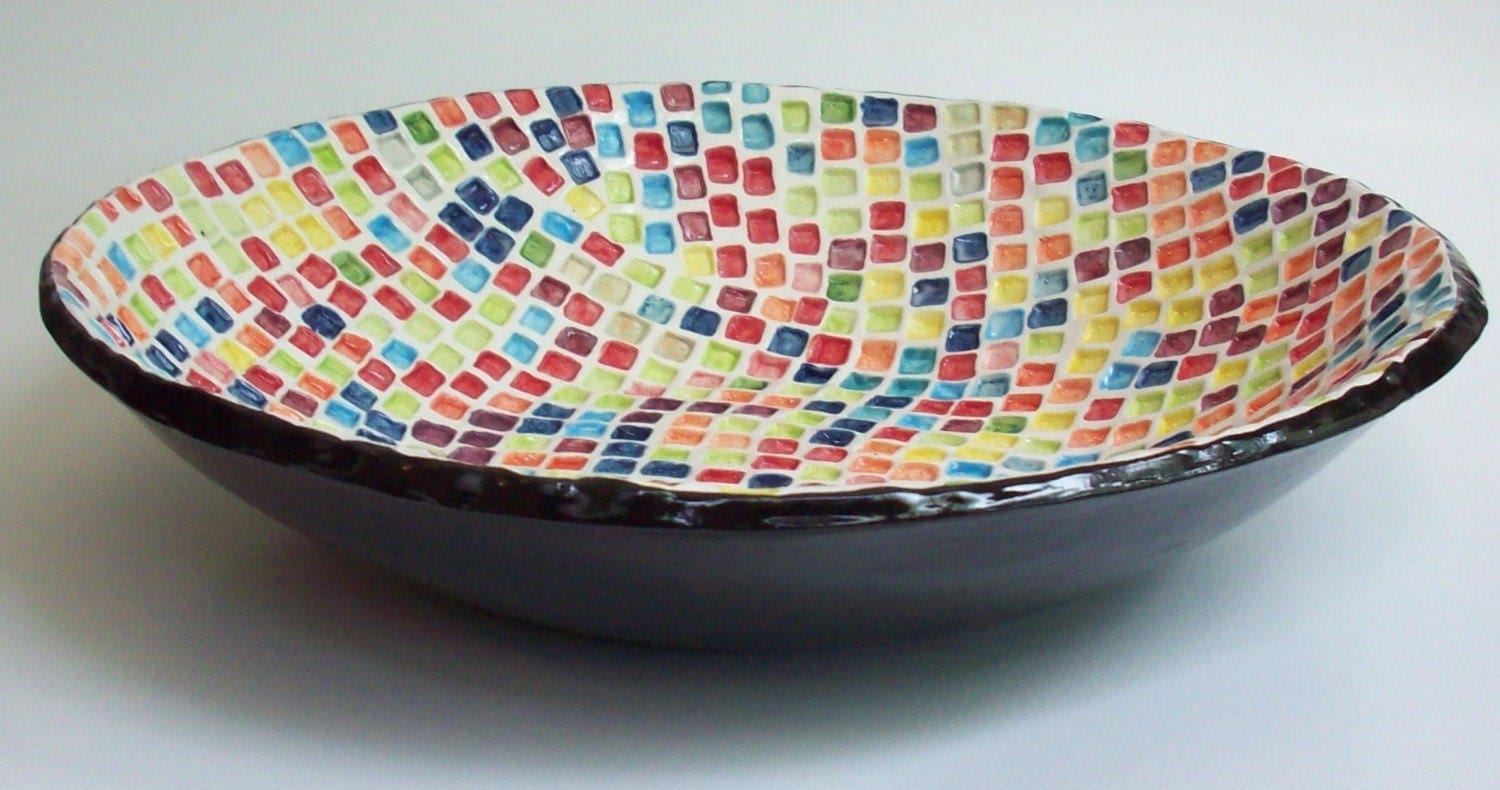
Rainbow squares
Each child works on a square of paper - about 15 - 20 cm I'd say is ideal.
- Each child is given a colour of the rainbow as their focus.
- They cut or tear pictures containing that colour - in any tone - from magazines.
- Cut 2cm (approx) squares of the colour from the magazine photos.
- Cover the large paper square with the cut-out coloured squares.
- Display the finished squares as one large square, arranged in the order of the colours of the rainbow. A bit like this...
You can extend the idea of mosaics and rainbows to crochet or patchwork if you (or someone you know) is up to it, or painting on cheap white china (or paper plate alternatives), overlapping coloured tissue or acetate to display on windows, doing ICT versions, ribbon,wool or raffia weaving. You could also use squares cut from the free paint charts you can get at DIY stores (surreptitiously collected over several visits probably!) for more colourful designs - a bit like this:
Take a line for a walk

I KNOW this is about the oldest, potentially boringest thing ever, but for the child who does it for the first time it's new and interesting. If you need a lesson in a hurry it works. Just in case you don't know it, what you do is literally 'take a line for a walk' across the page - swirls and loops, creating spaces that can be infilled. The infilling can be done with paint, or crayon or felt-tip, or pencil, or collage - whatever you fancy or have easily available. It can be an exercise in colour tones, colour balance, texture (hatching, stippling, crossed-lines etc.), you can use a limited or wide range of colours - all produce different outcomes. And it's very satisfying to do!
Faces
Show the children photographs of faces showing different feelings - make an IWB or Powerpoint slideshow. Use them as the basis for drawing faces. (It might also be useful to have photos cut from magazines for them to have whilst working, or create a loop for the slideshow, to be running continuously). From this, move on to clay. Get the children to make parts of a face using the clay - ears, noses, mouths, eyes. Final step is to make whole faces from clay, showing emotions.

Teaching skills
So much of the art we do with children in primary schools today is fail-safe - everyone has a pretty good chance of achieving something at least reasonable. Like this for instance:

This is all very well, but it often seems to me that such a one-dimensional diet is ultimately not a good thing. There's nothing wrong - and quite a lot right - with actually teaching specific art skills to develop children's capabilities.
So, showing how to draw a face or a person in proportion, can only lead to children's satisfaction at being able to produce something recognisable because they understand the basic rules. The same goes for perspective - it's not something that the majority are going to discover for themselves, so they need to be taught it. Once these artistic secrets are revealed, you have them forever.
And I launch a plea here for helping children, from a young age, to know something about composition.

Paper trees
This idea came from a small but striking window display in the Cambridge University Press bookshop. Paper trees, of about 12-15cm in height, had been cut out of newspaper - winter trees, with lots of branches - and they had been stuck on the pages of old books, so that they stood upright, creating a small wood. Some of the books also had small cut-outs of simple charcoal drawings of figures dotted amongst the trees. You wouldn't need the old books to display them, any surface would work. And they wouldn't have to be newspaper (which must have been stiffened in some way to make the trees stand upright - maybe it had been pasted on to each side of a piece of thin card), though that did make the display very eye-catching.
Drawing Noise
If you can get hold of Colin Thompson's Paradise Garden, not only have you found a wonderful picture book, but you can use it for art. The first double-page spread has the most fantastic, detailed, clever, funny illustration of sound. Quite a feat! You can legitimately photocopy just those two pages, to give to pairs of children. They will love just scrutinising it to start with (allow at least 10 minutes), then ask them to jot on whiteboards all the examples they can see that represent sound of various sorts, before having a go themselves at drawing noise!
Super Subs
I saw this idea at a Festival of the Sea. Local school children had designed fantasy submarines with specific users in mind, e.g. girls, car enthusiasts, pop stars, footballers, skiers, film fans - anything. They'd drawn cut-aways of their own shaped submarines, and divided the internal space into whatever rooms they wanted, annotated with appropriate items. Great fun! It could be linked to characters in a book.
Out of Art into Literacy
It's worth finding ten minutes to watch the National Gallery video that fully explains this project, where children create stories and their own artistic responses to paintings in the gallery's collection
.http://www.nationalgallery.org.uk/whats-on/exhibitions/literacy
Spotlight on Art
If you haven't yet used the Spotlight tool on your interactive whiteboard, it's time to start finding out how valuable it is! To get started, try it out with a downloaded painting, maybe choose one from the National Gallery's online collection.
http://www.nationalgallery.org.uk/
Make the spotlight tool quite small, and select just one small area of the painting to focus the class's attention on, and ask what they think the whole picture might be - what is this part showing, what clues does it give us, etc. Then you can either enlarge the spotlight, to show more of that area of the picture, or keep it the same size and move it around, looking at other sections in close detail. Finally, reveal the whole painting and see how the class's ideas matched the whole painting.
Painting Music

Use the book 'Igor, the Bird who Couldn't Sing', by Satoshi Kitamura, which has the most amazing, colourful illustrations of music. Use it for the children to paint their own versions - maybe play several different types of music for them to respond to; they could choose which one.
Drawing upside down
Based on the idea that the left side of our brain is more logical than the right side, this exercise, one included in the book 'Drawing with the right side of the brain', can be something of a revelation. Try it yourself before asking the children to do it - you'll find yourself concentrating hard!
Find a line drawing of a person or object or scene and turn it upside-down. Then get yourself some paper and a pencil and copy it - upside down. You'll find you stop thinking of it as something recognisable and instead you pay attention to the lines, shapes and spaces you're copying. Finally, turn both drawings the right way up and compare. The point of the exercise is to help develop observational drawing skills, and also to begin to appreciate line and space in art.
Aerial photo collages
Over several lessons, children create abstract collages based on aerial photographs. It's best if they start with the photos upside down, as they should focus only on the lines and shapes in the image - they're not trying to recreate the photographic details in their collage. First copy the lines and shapes onto paper, then decide how each resulting section will be filled in - they could do a painted version first, then move on to a collage. Encourage imaginative use of colour either by limiting the palette, or going for tones and shades or simply by letting anything happen! Display the finished work alongside the original photographs.